


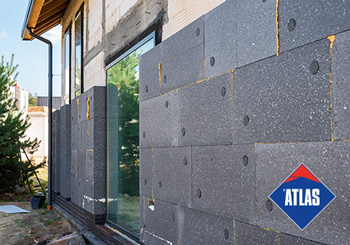

External wall insulation, also called EWI, has become a popular energy-saving solution for UK homeowners, especially for those with solid-wall properties. EWI reduces heat loss, lowers energy bills, and improves the appearance of older homes by creating a protective thermal layer. However, like any building material, it can also suffer from damage over time due to weather exposure, impact, or poor installation.
Cracks, water ingress, or detached render are not just aesthetic issues, they can compromise insulation performance and lead to further structural problems if not addressed promptly. Fortunately, many external wall insulation issues can be fixed without needing a full replacement. This comprehensive and step-by-step guide will help you identify such problems and carry out effective repairs to restore your insulation’s longevity.
Understanding Common External Wall Insulation Issues
Before diving into repairs, it is important to identify the types of problems that can affect your external wall insulation. These typically include:
- Discolouration or algae growth, usually happens due to damp conditions and poor drainage
- The insulation or render starts to peel or separate from the wall
- Water penetration, especially where sealants or flashings have failed
Understanding what you are dealing with ensures you go for the correct materials and techniques to fix your insulation properly.
Step 1: Inspect and Diagnose the Problem
Walk around the property and inspect all areas where the EWI has been applied. Use a torch and level to spot:
- Fine hairline cracks
- Larger structural cracks
- Damp patches or staining
- Bubbling or bulging in the render
- Loose sections or hollow sounds when tapped
Mark the problematic areas that need repair and take photos to document the condition. If you are not sure whether the problem is cosmetic or structural, it is advisable to seek help from professionals like Infinity for further assessment and proper consultation.
Also Read: What Is External Insulation Render? Benefits & Installation Guide
Step 2: Clean the Surface
You should always make sure that the surface is clean and free from debris before attempting any repair. You can use a soft-bristle brush or low-pressure power washer to remove dirt, algae, or loose render. Apply a biocide wash and allow it to dry thoroughly for mould or algae growth.
Cleaning helps to expose the full extent of the damage and ensures new materials bond effectively to the existing surface.
Step 3: Repair Cracks and Surface Damage
Hairline cracks can be repaired using a flexible exterior filler. Apply it with a filling knife, press it into the crack and smooth it level with the surrounding surface. Once dry, lightly sand the area and paint over it with weather-resistant exterior paint.
For larger cracks or sections of render loss, you’ll need to cut away any loose or crumbling areas around the crack. Apply a mesh reinforcement patch over the affected area, then use basecoat render to fill and level the patch. Once cured, reapply the topcoat render and finish with paint or a protective coating if required. If you are not sure, you must consult with professionals like Infinity.
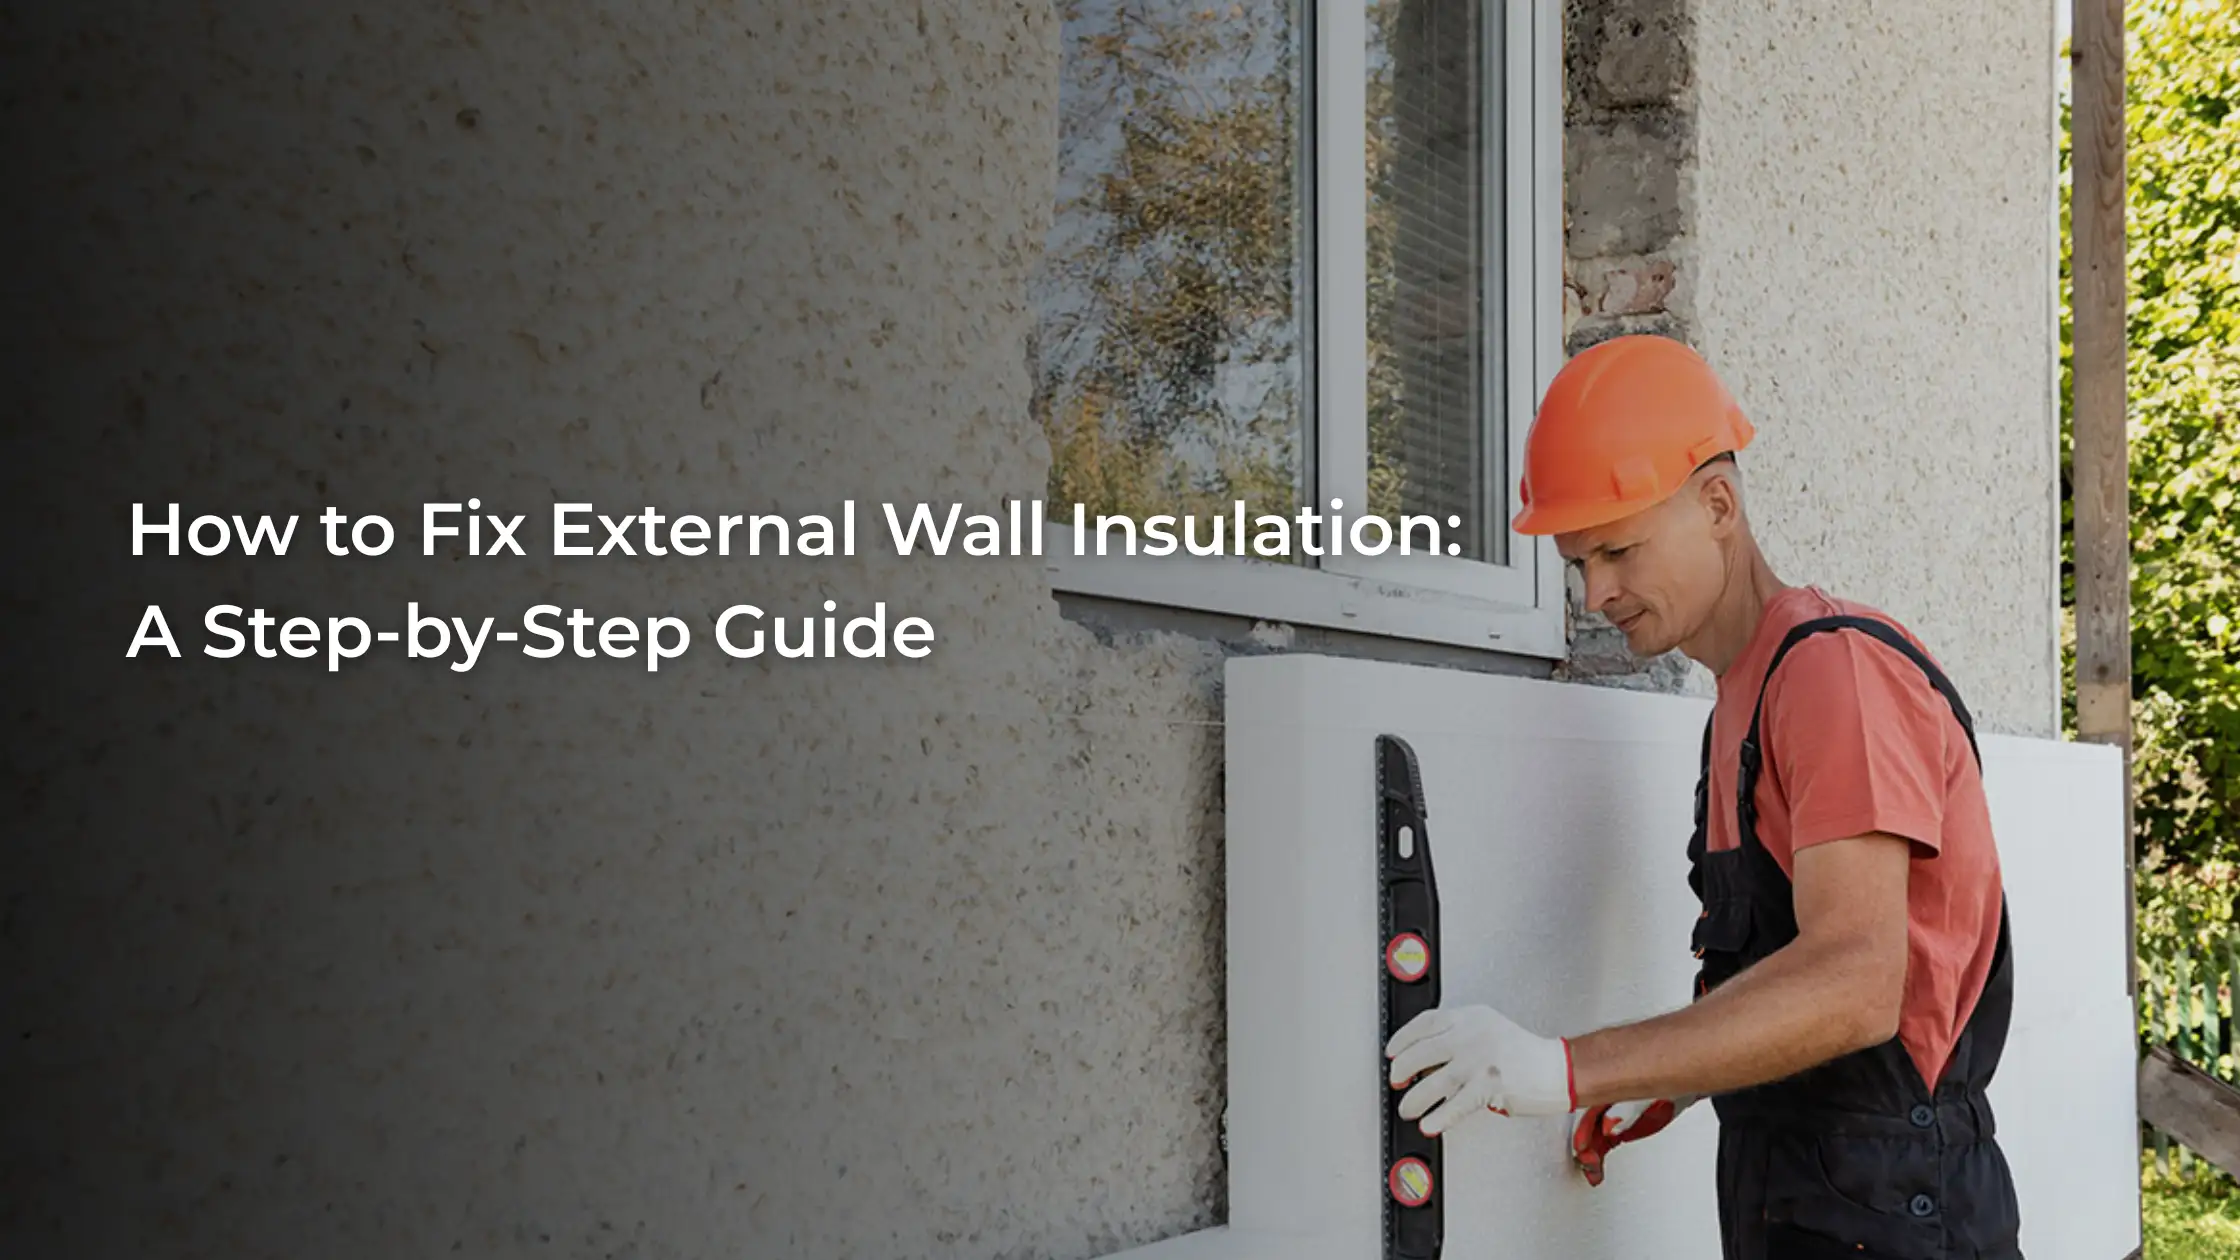
Step 4: Re-fix Detached Insulation
If insulation boards have detached from the wall, more extensive repairs are necessary. Check for signs of damp or structural damage behind the insulation.
Once the wall is ready, apply fresh adhesive and reattach a new insulation board, then render and finish as per the original installation. To achieve the best results, use adhesive, fixings, and curing times as directed by the manufacturer.
Also Read: 10 Essential Home Insulation Tips to Reduce Energy Bills
Step 5: Reseal Gaps and Openings
Water leakage is a common issue, particularly around windows, doors, pipe penetrations, or junctions where the sealant has failed. Carefully remove any old or cracked sealant and apply a high-quality weatherproof sealant.
Use a caulking gun for even application and make sure all joints are properly sealed. Pay special attention to flashings, drip beads, and corners, as these areas are especially vulnerable and can cause widespread moisture problems if overlooked.
Step 6: Apply Finishing Touches
Once all repairs are complete and the surface is dry, repaint the area using a weather-resistant paint. A textured roller can help achieve a consistent look. After a few days, inspect the area again to ensure that no new cracks or moisture signs have appeared. Proper finishing not only protects the surface but also ensures your property remains visually appealing.
When to Call in a Professional
While minor cracks or damage may be manageable for a capable DIYer, certain issues require professional attention. Persistent dampness, extensive render deterioration, structural bulging or cracks, and evidence of substandard installation are all signs that expert intervention is needed. A certified insulation contractor can accurately assess the problem and deliver a durable solution that meets current building regulations.
Infinity: Protecting Your Home with Quality Insulation Repairs
For homeowners unsure about managing external wall insulation repairs on their own, Infinity offers professional solutions tailored to your property’s needs. Whether you are dealing with cracks, deteriorating render, or an outdated insulation system, we ensure the task is completed to the highest standard, efficiently and reliably. We use high-quality materials, proven installation techniques, and provide maintenance guidance to extend the lifespan of your external wall insulation system. Act now to stop small issues from growing into costly problems and keep your exterior protected.
Conclusion
External wall insulation can deliver decades of energy savings and comfort, but like any exterior system, it requires regular care and maintenance. Addressing minor issues like cracks, damp, or render damage early helps prevent more serious and expensive problems down the line.
If you are looking for a trusted professional to handle it all with precision and safety, Infinity is your go-to solution. We are always here to help you protect your investment, improve energy efficiency, and maintain long-term comfort in your home.